For some reason, I decided that now would be a good time to paint the bill. Normally I save this for last, but I can go ahead and do the bill now since the head colors are basically complete.


For some reason, I decided that now would be a good time to paint the bill. Normally I save this for last, but I can go ahead and do the bill now since the head colors are basically complete.
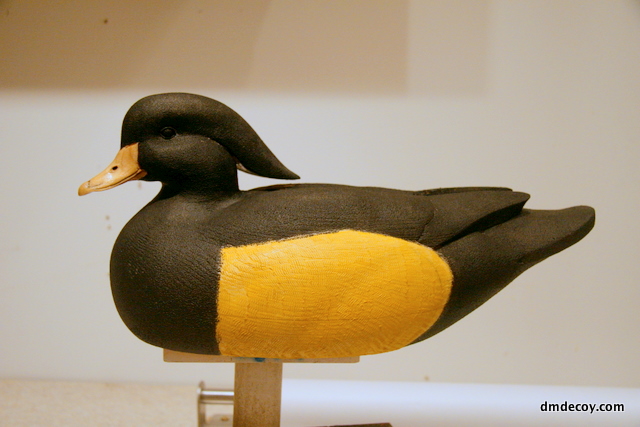
Now that the bird is base-coated, it's time to move onto the finish paint. I generally try to work from the rear of the bird to the front, although admittedly I'll sometimes jump around. I'm going to start with the rump and under tail on this bird. On this particular bird, I use the airbrush quite a bit. I normally don't like to use the airbrush this much on my decoys. With a wood duck, however, I've got an easy formula using the airbrush that's tough to beat.
The first step after carving and sealing is to apply some texture to give the bird a softer appearance.
Now that the eyes are installed and the body is hollowed, It's time to permanently attach the head. I use a two part, carve-able product called Tuf-Carve. I use the 1/2" dowel peg to ensure it is aligned and to help strengthen the joint. I really slop it on when attaching the head. The neck joint has not been carved yet and I still have to do quite a bit of shaping, so any extra material will all be carved away.
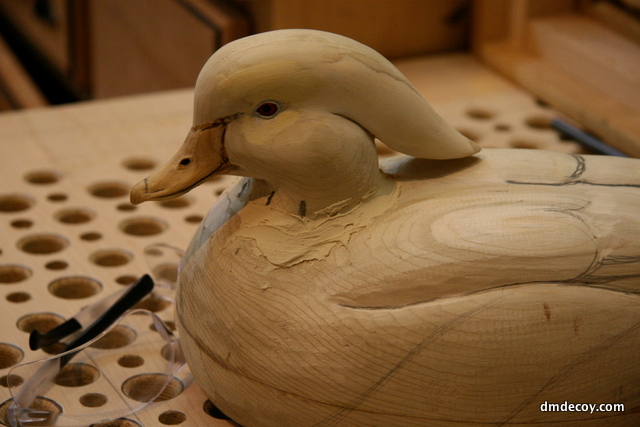
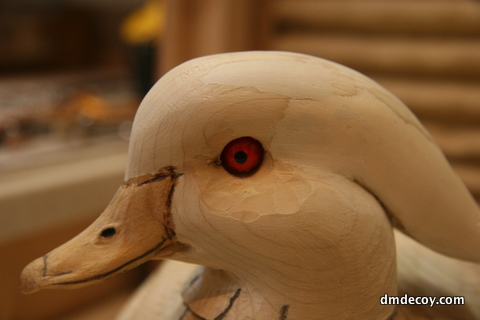
Here is where I begin to set the eyes permanently. The first step is to insert the eyes into the head at the correct angle. I use modeling clay to hold the eye in place. I use a dowel rod that I've carved a concave end into so I can se the eyes angled slightly forward and and down. Then, if there is a ledge under the eye from where I drilled the original hole, I'll carve that away.
Now that the decoy is basically carved to its final shape, I'll start the hollowing process. I'll do just a bit more carving to refine some details, but I'm now confident that they will be minor so I'm ready to hollow.
Since I never did glue the two halves together, all I have to do is remove the screws and the decoy comes apart. The bottom is the easy part to hollow. I chuck a forstner bit into the drill press and set the stop so that it doesn't drill any lower than about 3/8" inch. I'll drill out as much as I can.

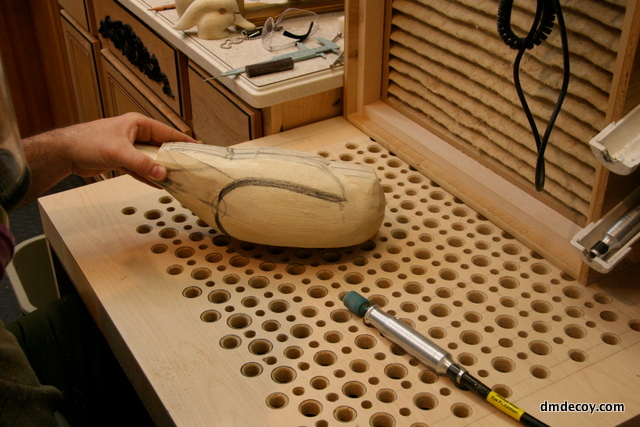
Now that the decoy is round, I'll start to cut in the side pockets. I've highlighted the general area I'm going to carve away with pencil. Notice the circle I've drawn at the very rear of the side pocket. I won't touch this area at all. Doing so will change the top profile of the decoy.
Here's where I start rounding and rough carving the body. At this point, the body blank has been cut out and is ready to start getting shaped. I use measurements from both the pattern I used for this decoy, and Pat Godin's decoy pattern book. I use these cheap calipers a lot while carving a decoy.

With the side and top profiles now cut on the head, it's time to start carving.
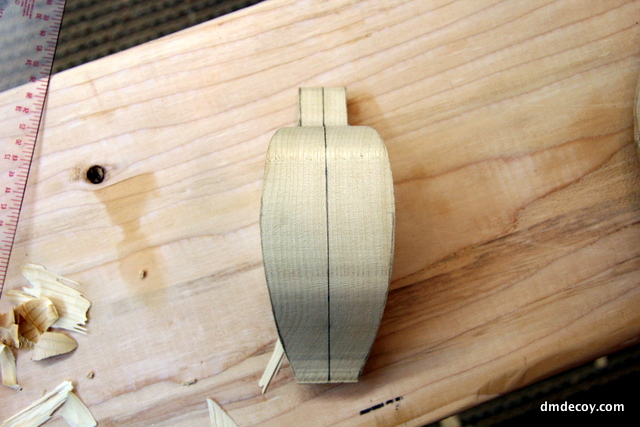
Onto the head. I've picked a smaller piece of white cedar and cut it to the final width, 2 3/8". When lining up the pattern with the wood, it's critical to make sure the wood grain runs parallel to the bill.
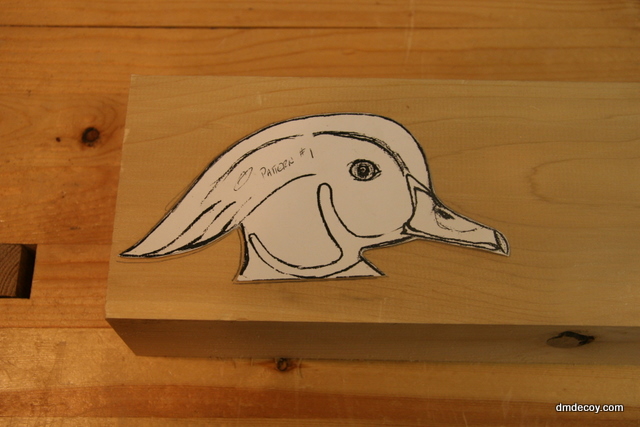
I start with a piece of wood or cork. In this demo, I am using a piece of white cedar. I have already jointed and planed this block to ensure it is flat and square. This step is critical. While cutting out the blank on the bandsaw, anyimperfection will be magnifed the thicker and wider the block.
