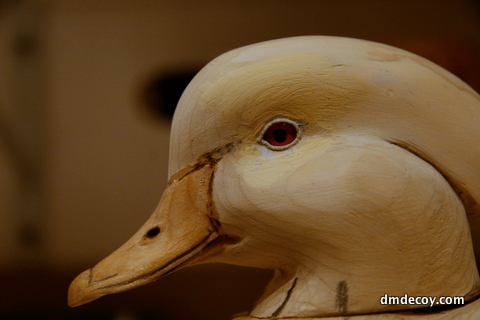
Here is where I begin to set the eyes permanently. The first step is to insert the eyes into the head at the correct angle. I use modeling clay to hold the eye in place. I use a dowel rod that I've carved a concave end into so I can set the eyes angled slightly forward and and down. Then, if there is a ledge under the eye from where I drilled the original hole, I'll carve that away.
Here's another angle where you can see I've carved away the wood that is under the eye.
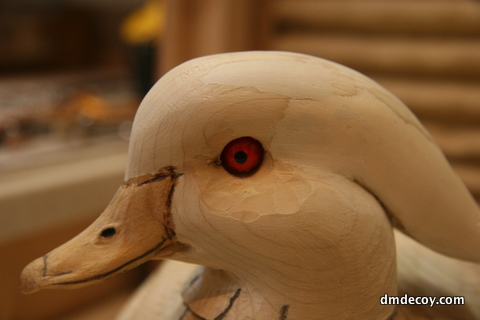
Next I'll take some exterior grade wood putty and fill the under side of the eye cavity using a dental spatula.
Now I'll add filler to the top of the eye cavity. For now, I'm not entirely concerned with the shape of the eye. I just want to completely fill the eye socket. I didn't take a picture, but I'll also add some filler above the eye to build up a brow.
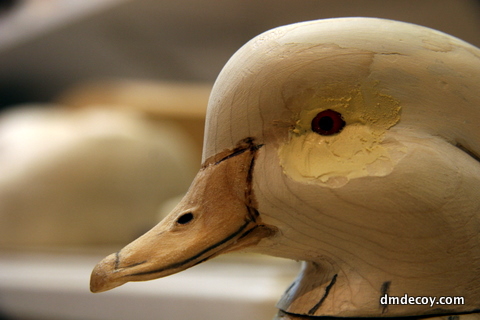
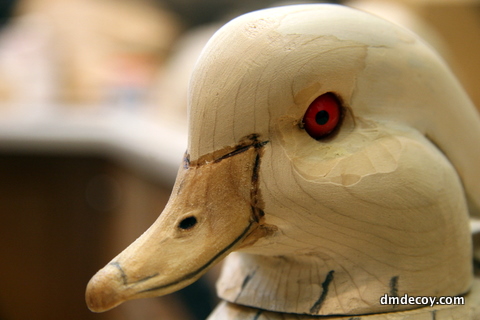
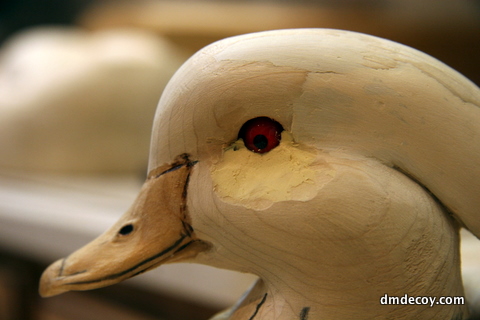
Once the filler is dry, I take an exacto knife and shape the eye. Once I've got a shape that I like, I use some Apoxy Sculpt and create the eye ring that wood ducks have. A good sanding, being extremely careful not to touch the glass eye, and the eyes are set.