The first step after carving and sealing is to apply some texture to give the bird a softer appearance.
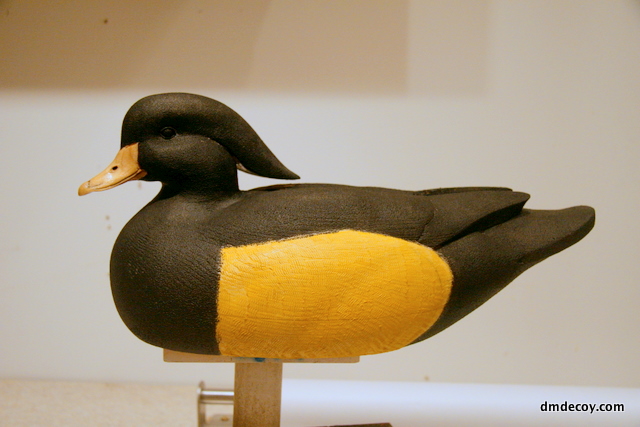
I use a Jansen product called texture medium. This is a thick, paste like product that holds it's peaks after it has dried. I add a little bit of paint to the texture medium to bit to thin it a little and to tint it. I use black to tint the bumped up texture. If this decoy gets hunted or handled roughly, some of the paint can wear away to reveal the textured surface. Black will not show up nearly as easily as white or a light colored texture.
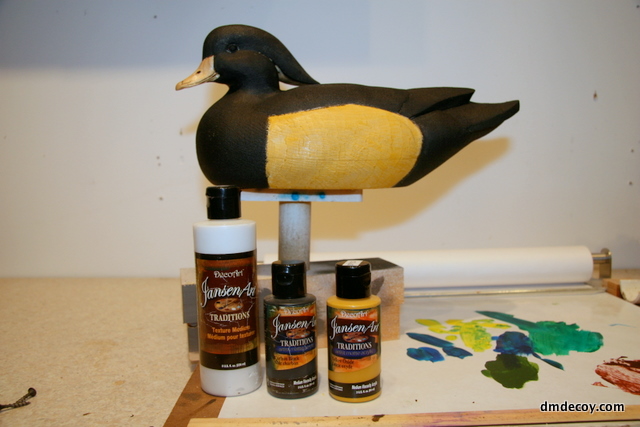
To accomplish the bumped up texture, I mix about 80/20 texture medium to paint, and apply with a piece of scrap foam or sponge. I apply it in a up and down motion all over the bird. To get into the tight areas around the head, I'll hot-glue a tiny piece of sponge to a popsicle stick so I can reach the areas my fingers cannot.

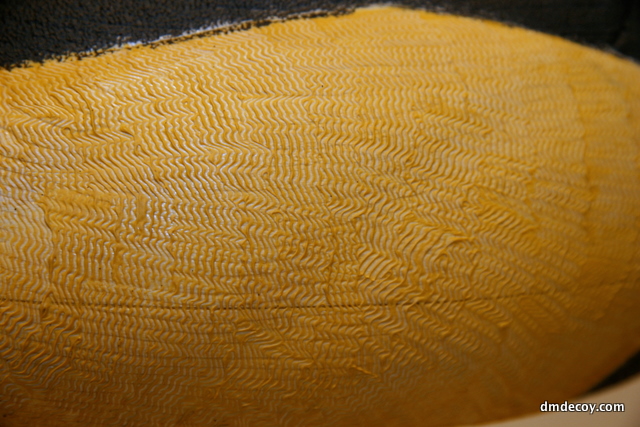
For the side pockets, I want a different type of texture. A wood duck has vermiculated feathers on the sides. So using the same ratio of texture to yellow paint, I apply the thick texture with a brush, then using a steel comb, I drag squiggly lines though the mixture to create peaks and valleys. I'll eventually dry-brush this area with a dark color and it will very nicely simulate the vermiculated feathers.
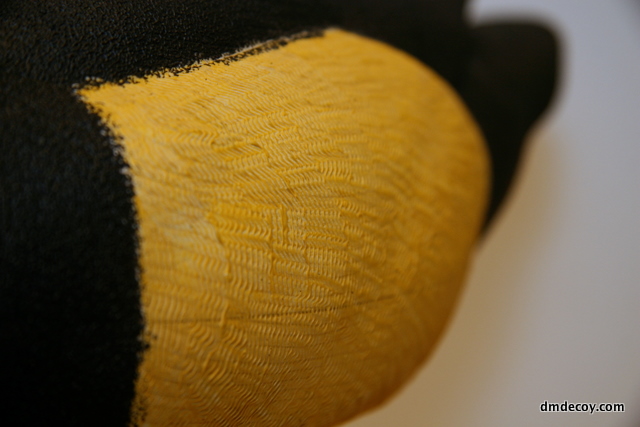
Once the texture medium has dried, the bumped up areas have a pretty rough feel to them. I take a green scotch-brite and go over the entire bird to knock off the high spots. This takes most of the roughness away and leaves a nice, soft textured surface.
I also clean off the eyes at this point. when texturing and painting, and always paint right over the eye so that the entire eye lid gets covered. But I always clean the eye after each coat dries. If I waited until I was finished painting to clean the eye, I would end up with some color mis-match on the inside of the eye ring.
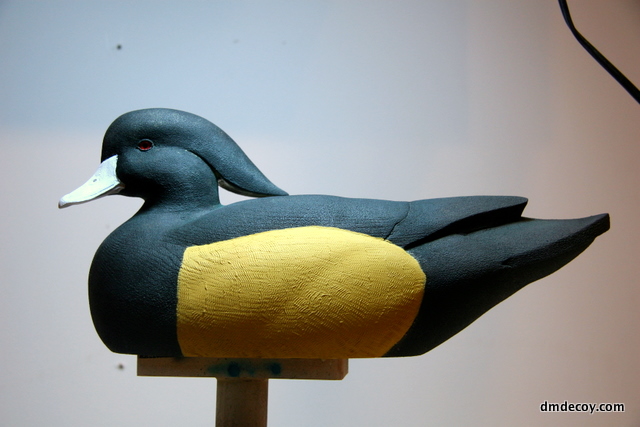
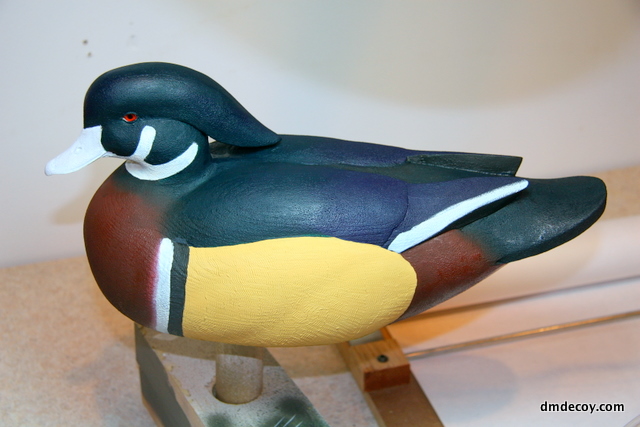
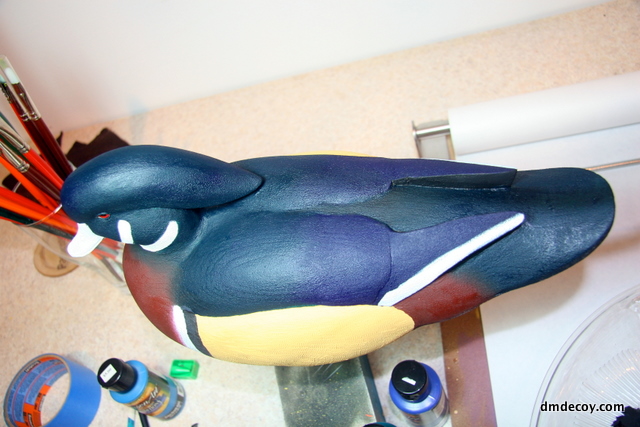
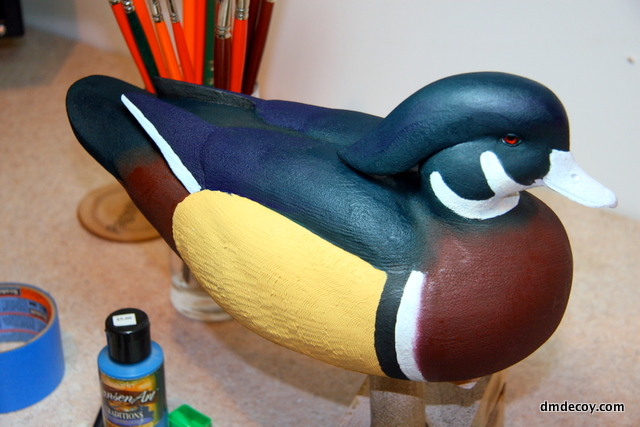
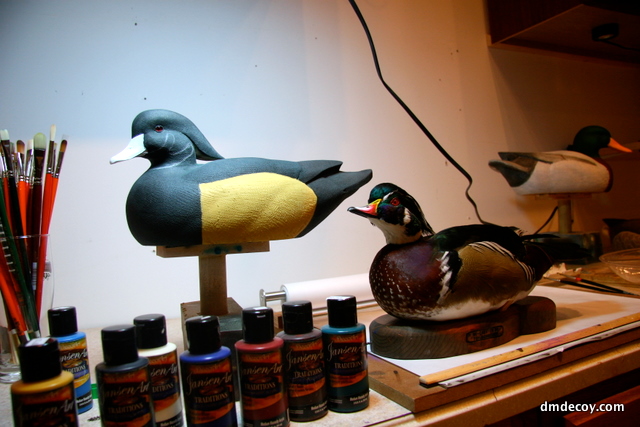
Now it's time to apply the base coat of color. I'm still using Jansen paint.
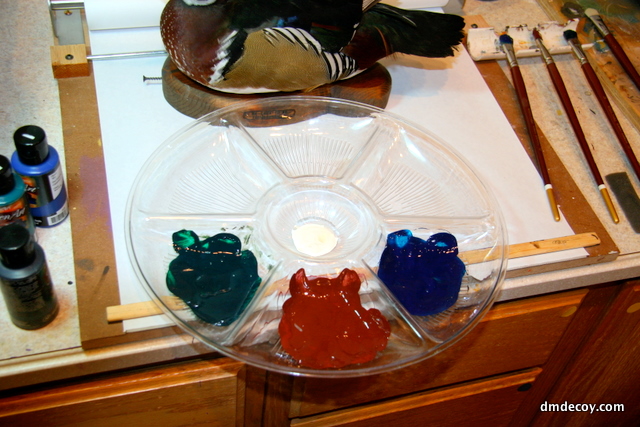
This is a trick I learned from Frank Peeters. I use one of these cheap party trays as a palate for my wood ducks. This allows me to mix up all of the colors I need for the base coat at once. It's important to apply the base coat altogether so that the adjacent colors can be wet blended together to make a soft transition. It's much harder to get a soft blend once the color have dried and you have a hard line.
This deer foot stipple brush is great for blending the transition areas. I simply apply the colors next to each other, than use the stippler with a tamping motion to get a nice blend.
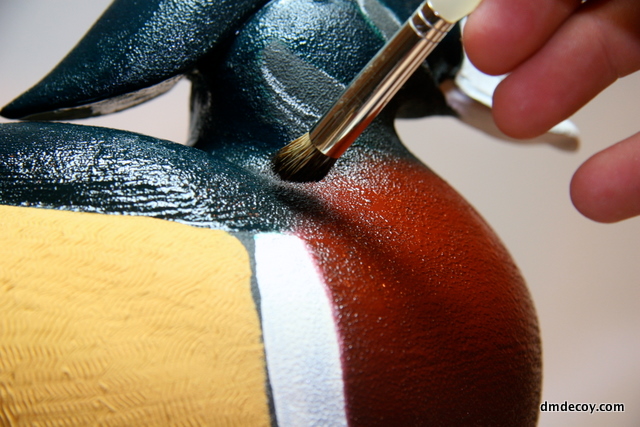
I use a quick back and forth motion give me a quick blend between the white and red on the lower rump.
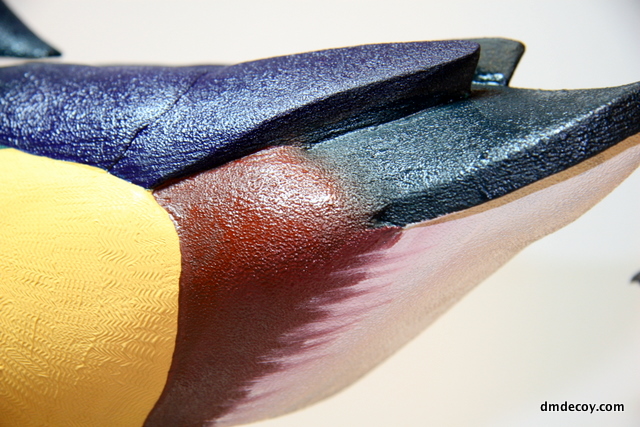
I'm stippling another red to green transition.
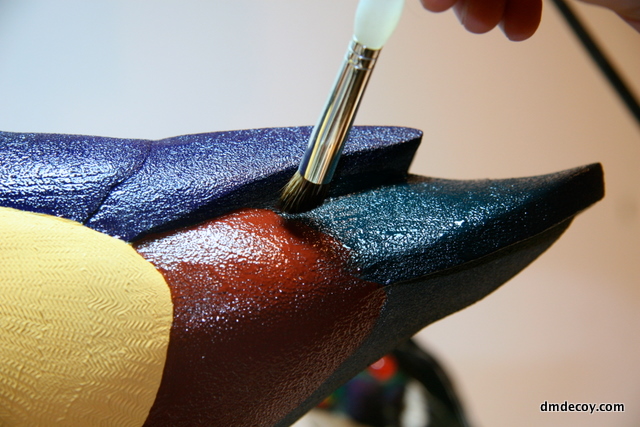
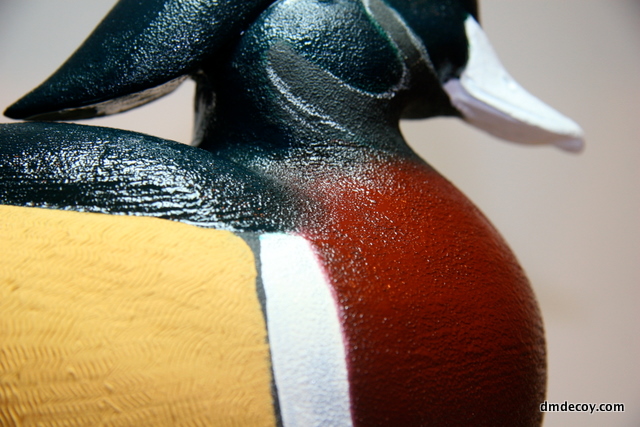
On the back and head I apply both green and blue, and simply sweep the transition areas back and forth with a filbert brush. This is a pretty easy blend. You can't really do anything wrong. I'm just trying to avoid a hard-line transition between any feathers.