
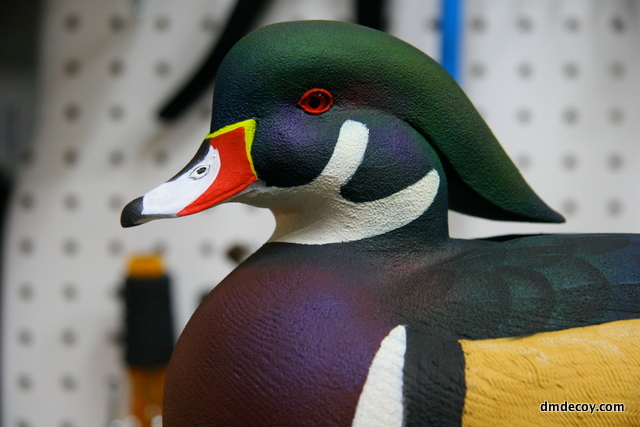
For some reason, I decided that now would be a good time to paint the bill. Normally I save this for last, but I can go ahead and do the bill now since the head colors are basically complete.

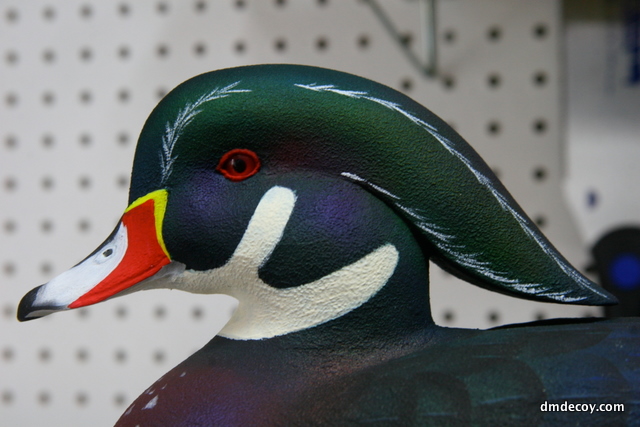
Here I've completed the bill and also painted the eye ring red.
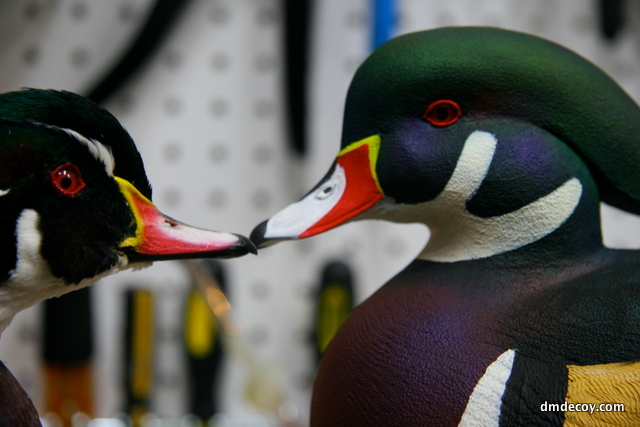
Here's a comparison shot of the finished bill with my mount.
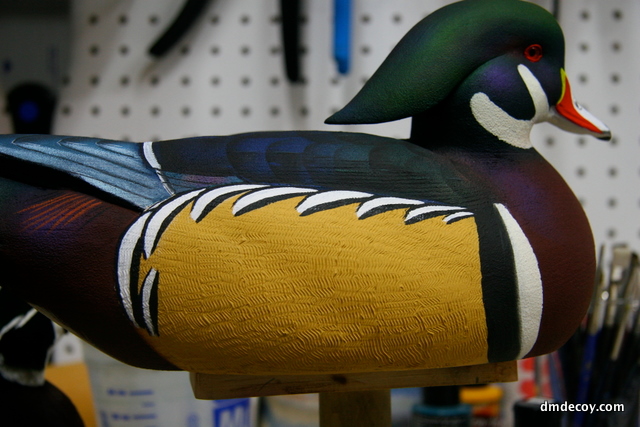
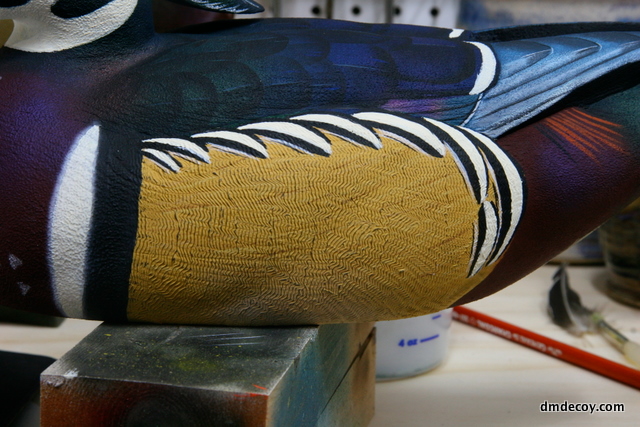
Onto the side pockets. To add some depth and visual interest, I streak some lighter and darker values into the side pockets. I'm careful to follow the feather flow of the side feathers.
Now I start to paint the black and white feathers at the top of the side pocket.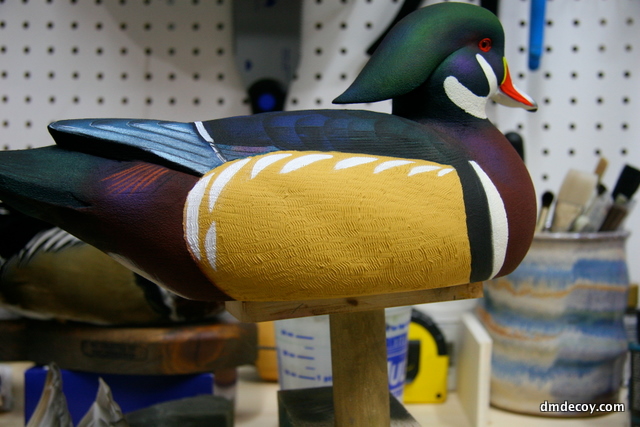
Here I've added the black.
Now I'll paint the chest.

The chest and breast area of the wood duck has a yellow highlight in the middle lower portion. Using an airbrush, I add some yellow oxide.
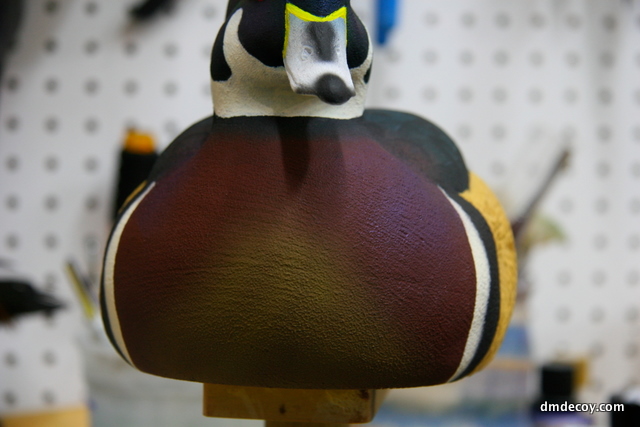
Once the yellow is applied, I come back with a burgundy/burnt umber mix to blend it in.
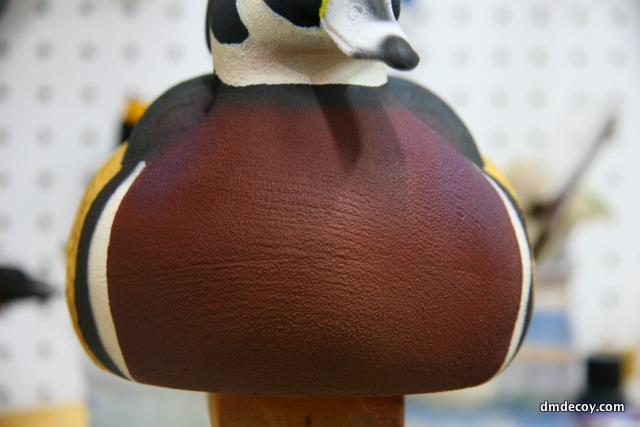
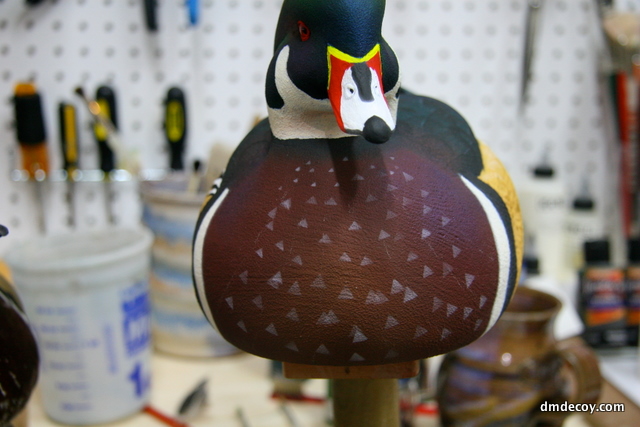
Now I'll sketch in the feather flow on the chest using a charcoal pencil.

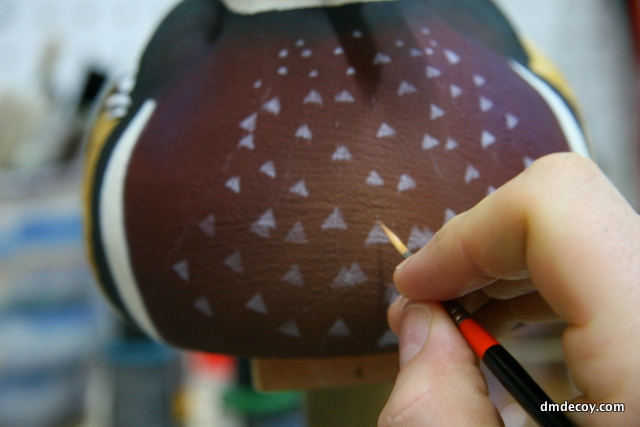
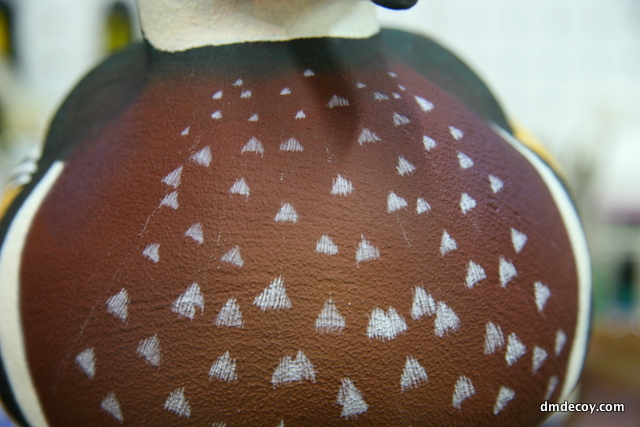
Using several triangle shaped templates, I airbrush in the details using a watery white mix of paint.
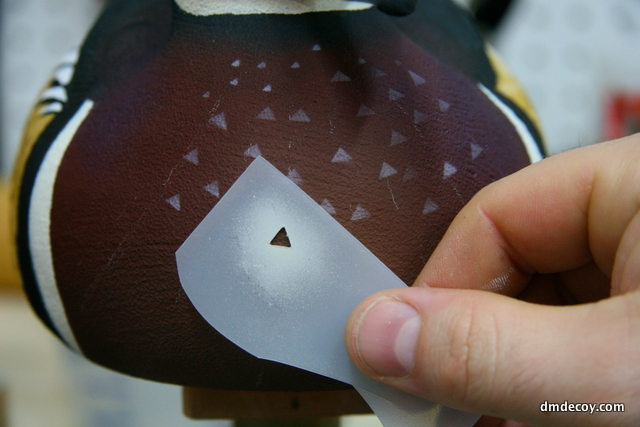
Here you can see how I've varied the shape of the triangle feather details. Some are even overlapping.
With a fine round brush, I add some white feather barbs over the triangle shapes I just applied.
I've added the white feather detail on the head.

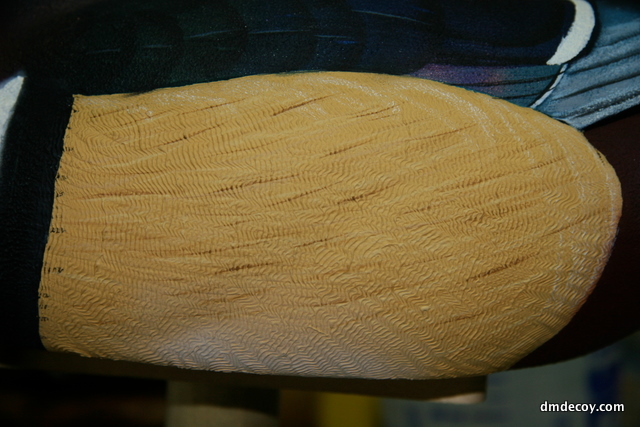
Now to finish things off, I come back to the side pocket and dry brush a dark brown color over the textured ridges to simulate vermiculated feathers.
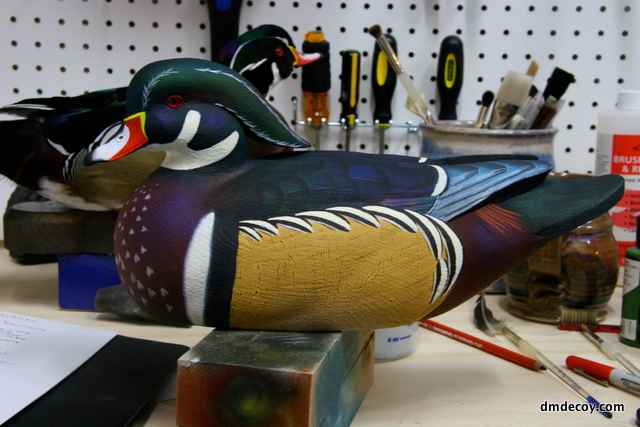
Here's the completed decoy.
I hope you've enjoyed this demonstration. I'll post up some detailed pictures of the completed bird in the decoys section of the site.